# Identity Providers
One of the features Modyo has to facilitate the interaction between other user systems and Modyo is the integration with different authentication services.
The platform is currently compatible with:
Remember to have all the required data and certificates at hand before changing them or integrating a service, to avoid any potential issues with user access.
# Add an Identity Provider
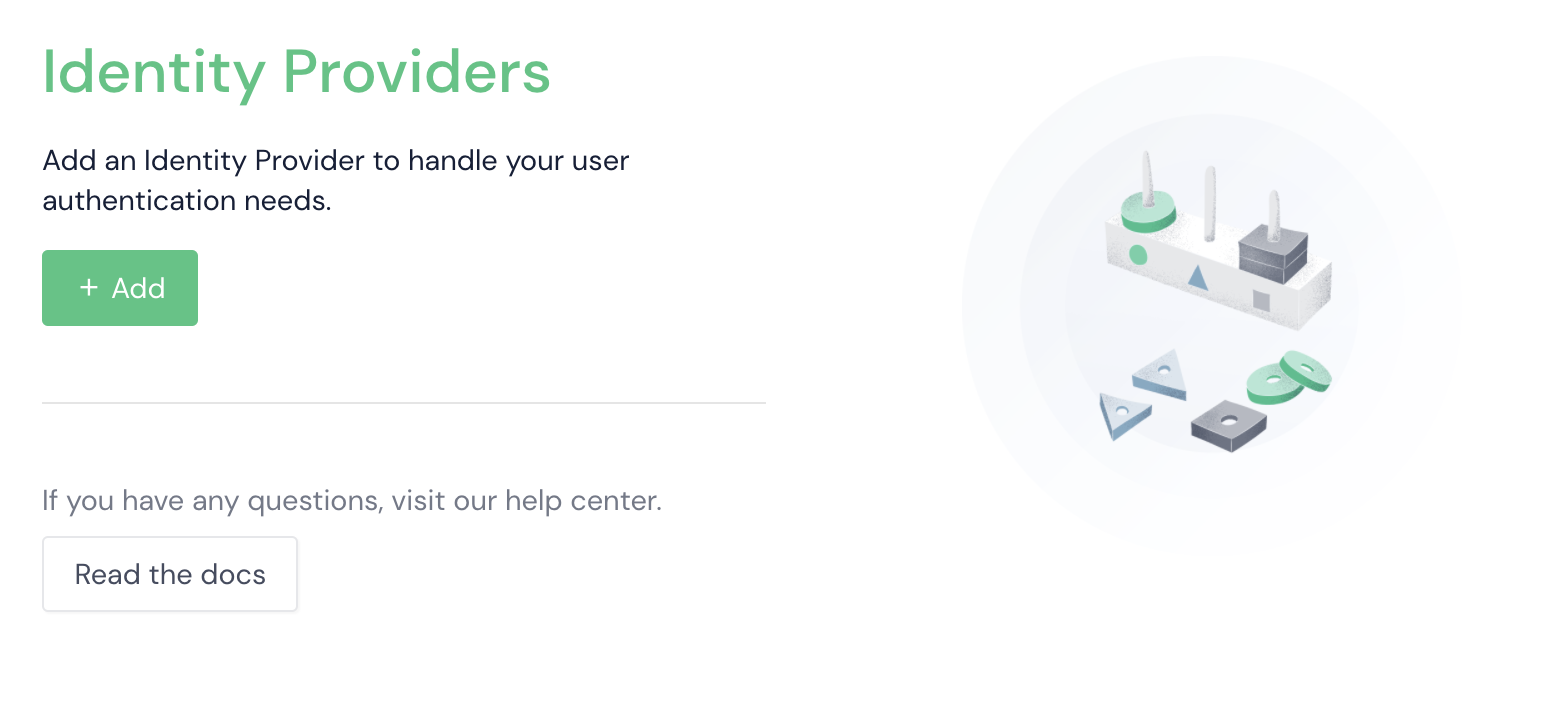
To add a new identity provider, follow these steps:
- From the main menu, expand Settings and click Identity Providers.
- Click Add.
- On the dropdown, select the integration you want to add.
- Add the information needed for the integration (Name, ID, Secret, etc.).
- Click Add.
In order to integrate Google login with Modyo, you must have:
- Application ID
- Key
These values can be obtained after creating a Google app with login permissions. You can learn more about how to create and configure a Google app in their official documentation (opens new window).
You should keep in mind that the callback URL (Callback URI) is available at the end of the form. You need to use that URL in the application or project that you create in Google to be able to complete the login flow correctly.
In addition to the necessary values, you can configure additional data to control the Google login experience. If you enable the Restrict domains option, you can use two extra fields:
- Domain example: These will be the domains that are shown as a suggestion when you are signing in to Google.
- Supported domains: If the email domain that the user uses when signing in with Google is not in this list, then the login will not be valid and the user will be redirected to the Modyo login view without an active session.
# SAML
# Requirements
To achieve a successful connection between SAML and Modyo, configure the following attributes in the Identity Provider:
- givenName or (from version 9.2.22 onwards can also be
givenname). Corresponds to the user name. - sn (from version 9.2.22 onwards can also be
surname). Corresponds to the last name of the user.
To integrate SAML login with Modyo, you need the following data from your identity provider:
- Service Name: The name that will be displayed on the login button.
- Issuer: Identifier of the IDP application. Some services require adding the
spnprefix: (For example:spn:13e4ff44-b0c9-4618-b305-2171a24b07f5). - SSO IDP of the destination URL: The URL to which the authentication request is sent. You can find this in the identity provider.
- SSO IDP runtime parameters of the destination URL: Optional parameters to complete the flow.
- IDP Cert: The identity provider certificate in PEM format. This takes precedence over the fingerprint option.
- IDP certificate fingerprint: The SHA1 fingerprint of the identity provider's public certificate.
- Name identifier format: Used during service provider-initiated SSO (SP-Initiated SSO). Describes the username format required by the application. See section 8.3 of http://docs.oasis-open.org/security/saml/v2.0/saml-core-2.0-os.pdf for other options. The identity provider may not allow all options; if not specified, the provider can choose the name identifier format used in the response; commonly email, such as:
urn:oasis:names:tc.saml:1.1:nameid-format:emailAddress - Entity ID URL: URL provided by Modyo where the application identifier is located:
- Admin:
test.modyo.com/admin/auth/saml/metadata. - Realms: for settings with realms use:
test.modyo.com/realms/<tu_uid_del_realm>/auth/saml/metadata.
- Admin:
- URL of the consumer service assertion: The URL provided by Modyo to which the identity provider redirects the flow.
- Admin:
test.modyo.com/admin/auth/saml/callback. - Realms: for configurations with realms use:
test.modyo.com/realms/<tu_uid_del_realm>/auth/saml/callback
- Admin:
- ** (Optional) IDP single sign-on destination URL**: The login URL of the identity provider.
# OAuth2
In order to integrate a login with OAuth2 in Modyo, you will need the following information from your identity provider:
- Name of the service
- Service description
- Authentication URL: URL of OAuth2 authentication service
- Client ID
- Secret
- Scope: If your OAuth2 authentication service uses multiple spaces or environments to separate users and you want to use a specific one in this integration, you must define it in this field.
- Login field: You can choose to use either the Modyo users' email address or their username. This option is useful if your OAuth2 authentication provider uses, for example, a numeric field and not an email as identifier.
- Placeholder for login: Text to be displayed in the identification field as placeholder if the user has not filled in the field.
- Use SSL: Enable this option if your OAuth2 authentication service uses a secure socket layer (SSL: Secure Sockets Layer).
To create an OAuth client, go to [OAuth Client] (/en/platform/customers/settings #oauth-client).
# OpenID Connect
OpenID Connect (OIDC) is an authentication layer and framework that works on top of OAuth 2.0. Its standard is controlled by the OpenID Foundation (opens new window).
# Requirements
The following attributes must be configured from the Identity Provider to ensure a successful connection between OpenID Connect and Modyo Platform:
- given_name: Corresponds to the user's name.
- family_name: Corresponds to the user's last name.
- email: Corresponds to the user's e-mail address.
Warning
For a correct OpenID Connect integration, it is necessary that the OIDC Provider has an up-to-date SSL certificate, Modyo client uses TLS 1.3, and OpenSSL Security Level 2 (ref) (opens new window).
Warning
The API for obtaining delegated access tokens via /auth/openidc/access_token is deprecated and replaced by /api/profile/me.
# Integration settings
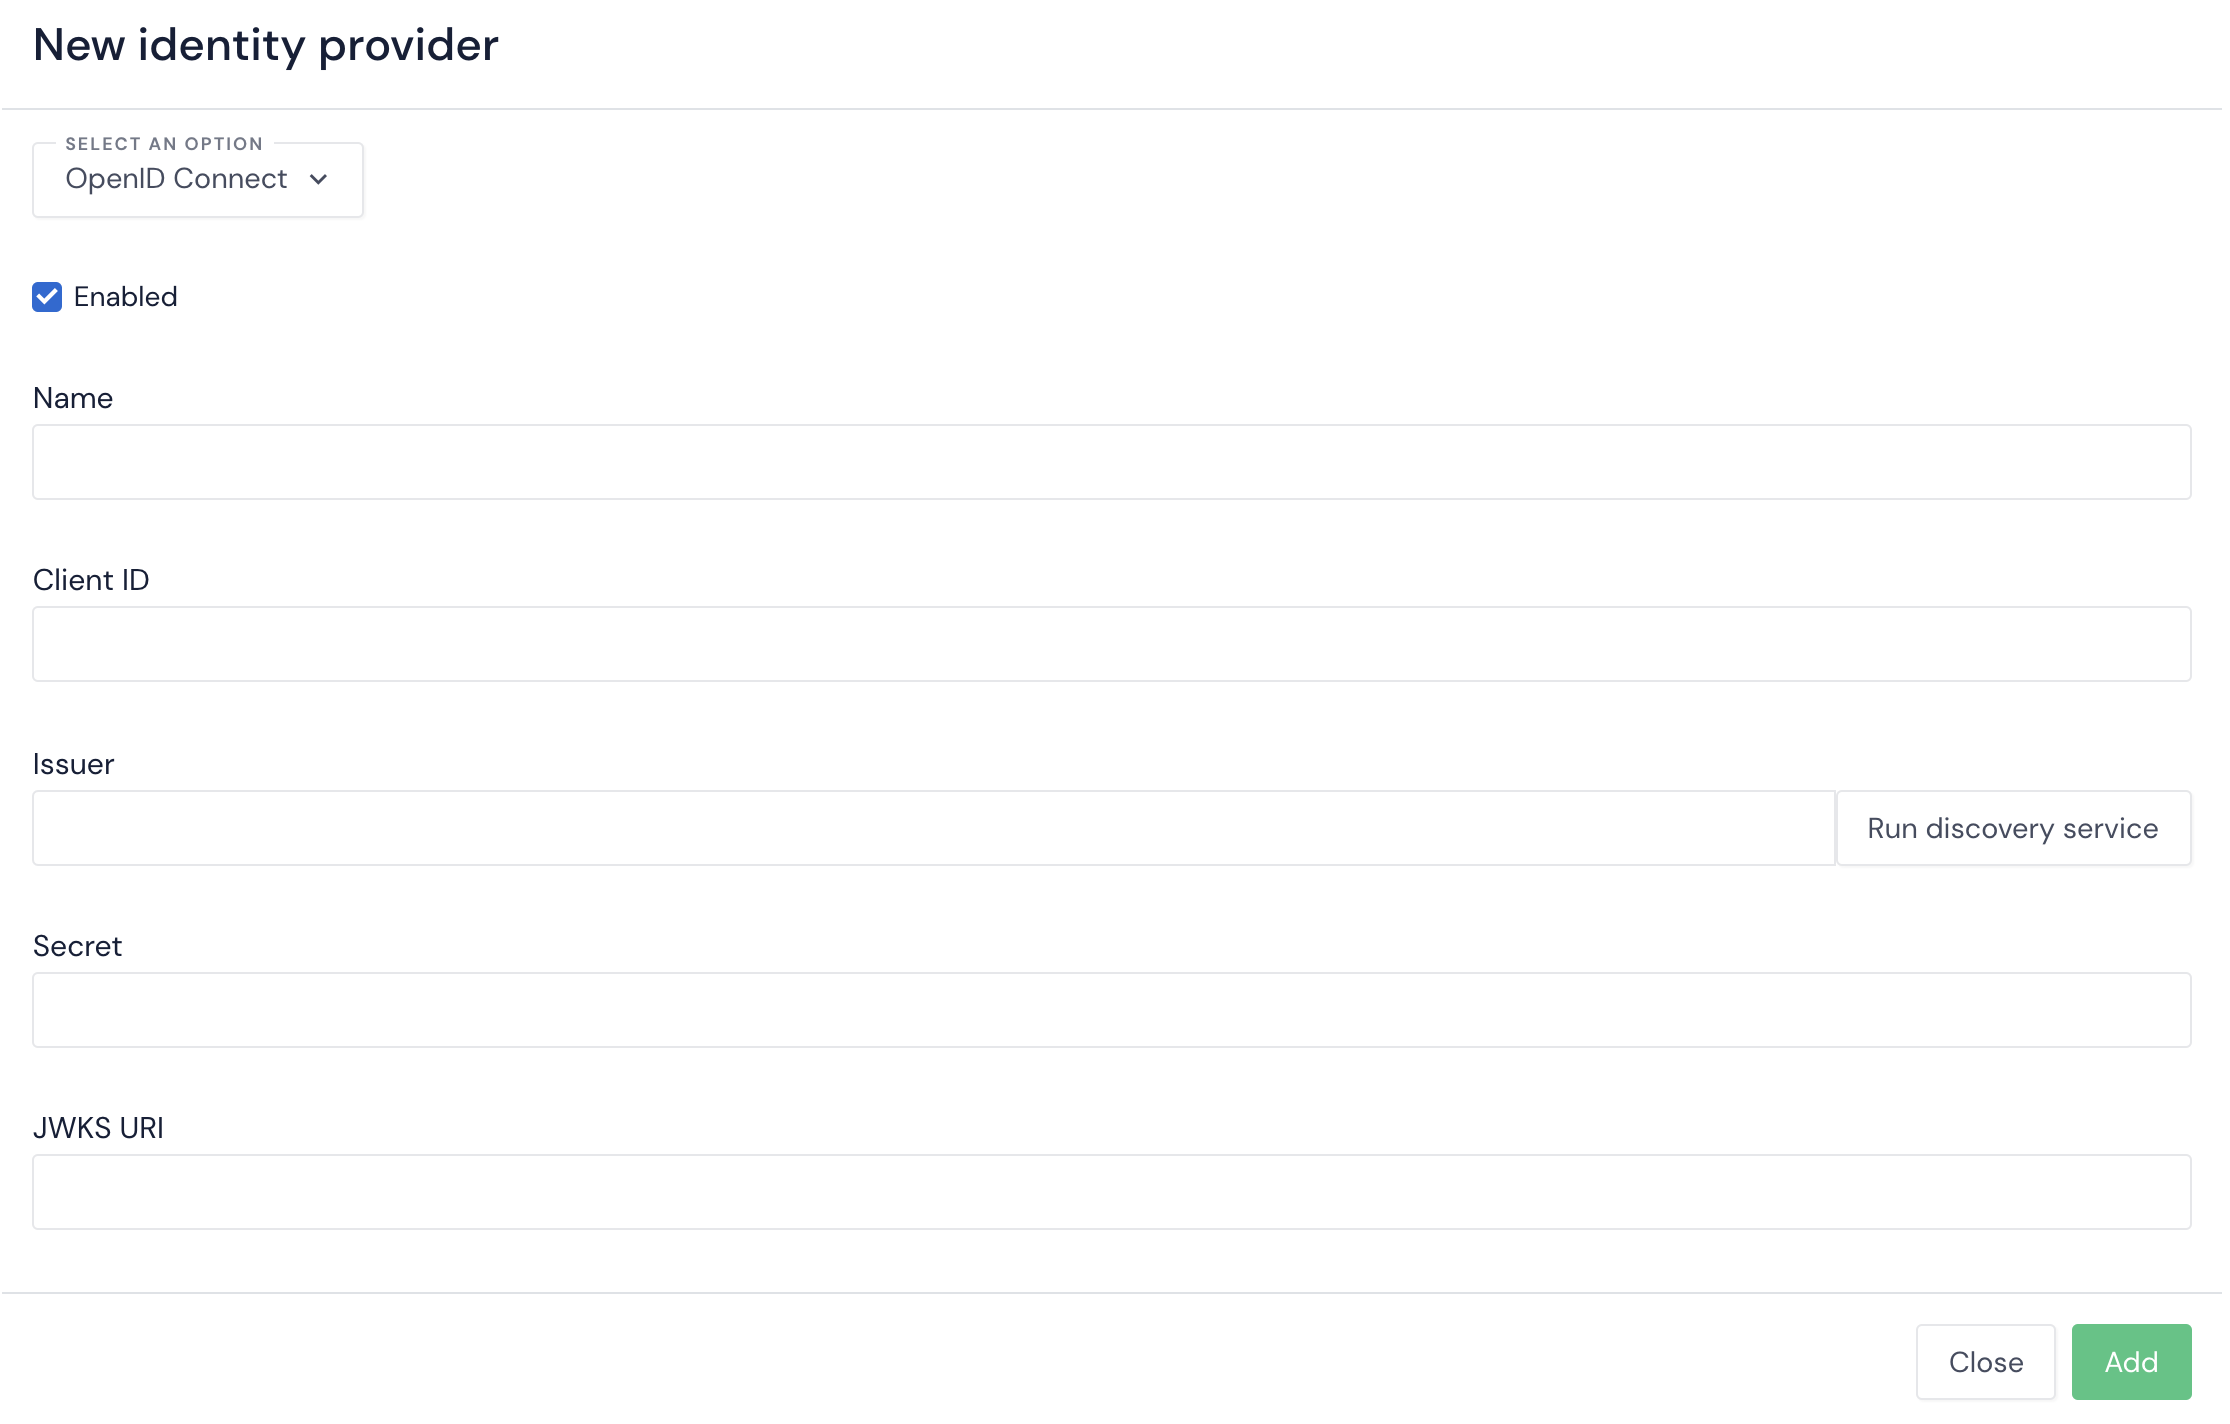
- Go to Configuration/Realm Configuration > Realm > Identity Providers > Add > OpenID Connect and fill in Client ID and Secret with the client's name and credentials.
- In Issuer, fill in the URL of the realm, for example, for the realm
my-realmthe URL it ishttps://test.example.com/auth/realms/my-realm. - Click Launch discovery service. This will complete most of the settings.
- Configure the Scopes with the scopes required for the application. Use
openid, email, profileif you don't have custom scopes.
# Optional integration settings
When performing a specific integration, Modyo allows you to enable certain settings to control the following session features:
| Option | Description |
|---|---|
| Enable logout | Enable logging out of the provider when logging out of Modyo. This allows the session to be effectively closed, forcing the user to identify themselves again with the Identity Provider and disabling the SSO experience. |
| Enable refresh token | Enable token refreshment managed by Modyo. The access tokens will be automatically renewed by the platform if the user maintains activity on the site and has a valid refresh token. |
| Tolerance in seconds for access token | Number in seconds that will be used as a margin of tolerance to obtain an access token using the refresh token. |
| Enable token revocation | Enables revocation of access tokens via API. For revocation, you can use the provider's endpoint to revoke tokens. |
| Activate refresh token | Enables the use of OAuth 2.0 refresh tokens. To refresh your access token, you can use the provider's POST endpoint by sending grant_type: refresh_token, refresh_token: my-refresh-token, client_id: my-client-id |
| Show delegation information | Enable more information in the User Profile API regarding delegated tokens. This is useful when the access token issued by the identity provider is needed to gain access to another service (e.g., an external API). |
| Enable claims synchronization at login | Enable synchronization of OpenID Connect claims with custom fields in Modyo. More information in Claims Synchronization. |
# Claims synchronization
Modyo allows you to synchronize attributes and other properties of Customer users through standard and additional claims through OpenID Connect.
- In Clients > Mappers create a new Protocol Mapper with the attribute or property of the user. Make sure Add to userinfo is enabled.
- In Customers > Realms > Realm configuration > Custom Fields add a new Custom Field with a data type equivalent to the claim.
- In Customers > Realms > Realm Settings > Identity Providers > OpenID Connect enable Enable claims synchronization on login and add claims mappings for each of your claims.
# Keycloak
Keycloak is a certified OpenID Connect identity provider that implements most of the features of Modyo OpenID Connect integration.
# Register a new client application
- From the administrative console, for example
https://keycloak.example.com/auth/click on add a new realm.
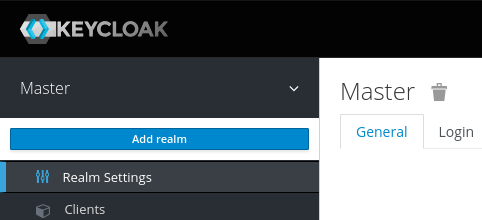
- Click add a client application. Use
openid-connectas Client Protocol for integrating with Modyo.

- Set Access Type to
confidentialand leave only the Standard Flow enabled. - Configure the Valid Redirect URIs with the Modyo account callback and logout URLs, using the URLs to the account, adding
/realms/my-realmif you are using a realm. For example:test.modyo.com/realms/my-realm/auth/openidc/callbackandtest.modyo.com/realms/my-realm/logout*.
# Configuring Keycloak in Modyo Platform
After configuring Keycloak, you now have to complete the integration into Modyo Platform.
- Go to Configuration/Realm Configuration > Identity Providers > OpenID Connect and fill in Client ID and Secret with the client's name and credentials that appear on the client's Credentials tab in Keycloak.
- In Issuer, fill in the URL of the realm, for example, for realm my-realm the URL is
https://keycloak.example.com/auth/realms/my-realm. - Click Launch discovery service. This will complete most of the settings.
- Configure the Scopes with the scopes required for the application. Use
openid, email, profileif you don't have custom scopes.
# Azure Entra ID
Azure Entra ID is a Microsoft Azure cloud identity service that allows you to implement a hybrid identity scheme based on on-premise directories with SSO in the cloud.
# Register new client application
- Log in to the Azure Portal (opens new window).
- In the search bar, search for Azure Entra ID, and then select App registrations > New registration.
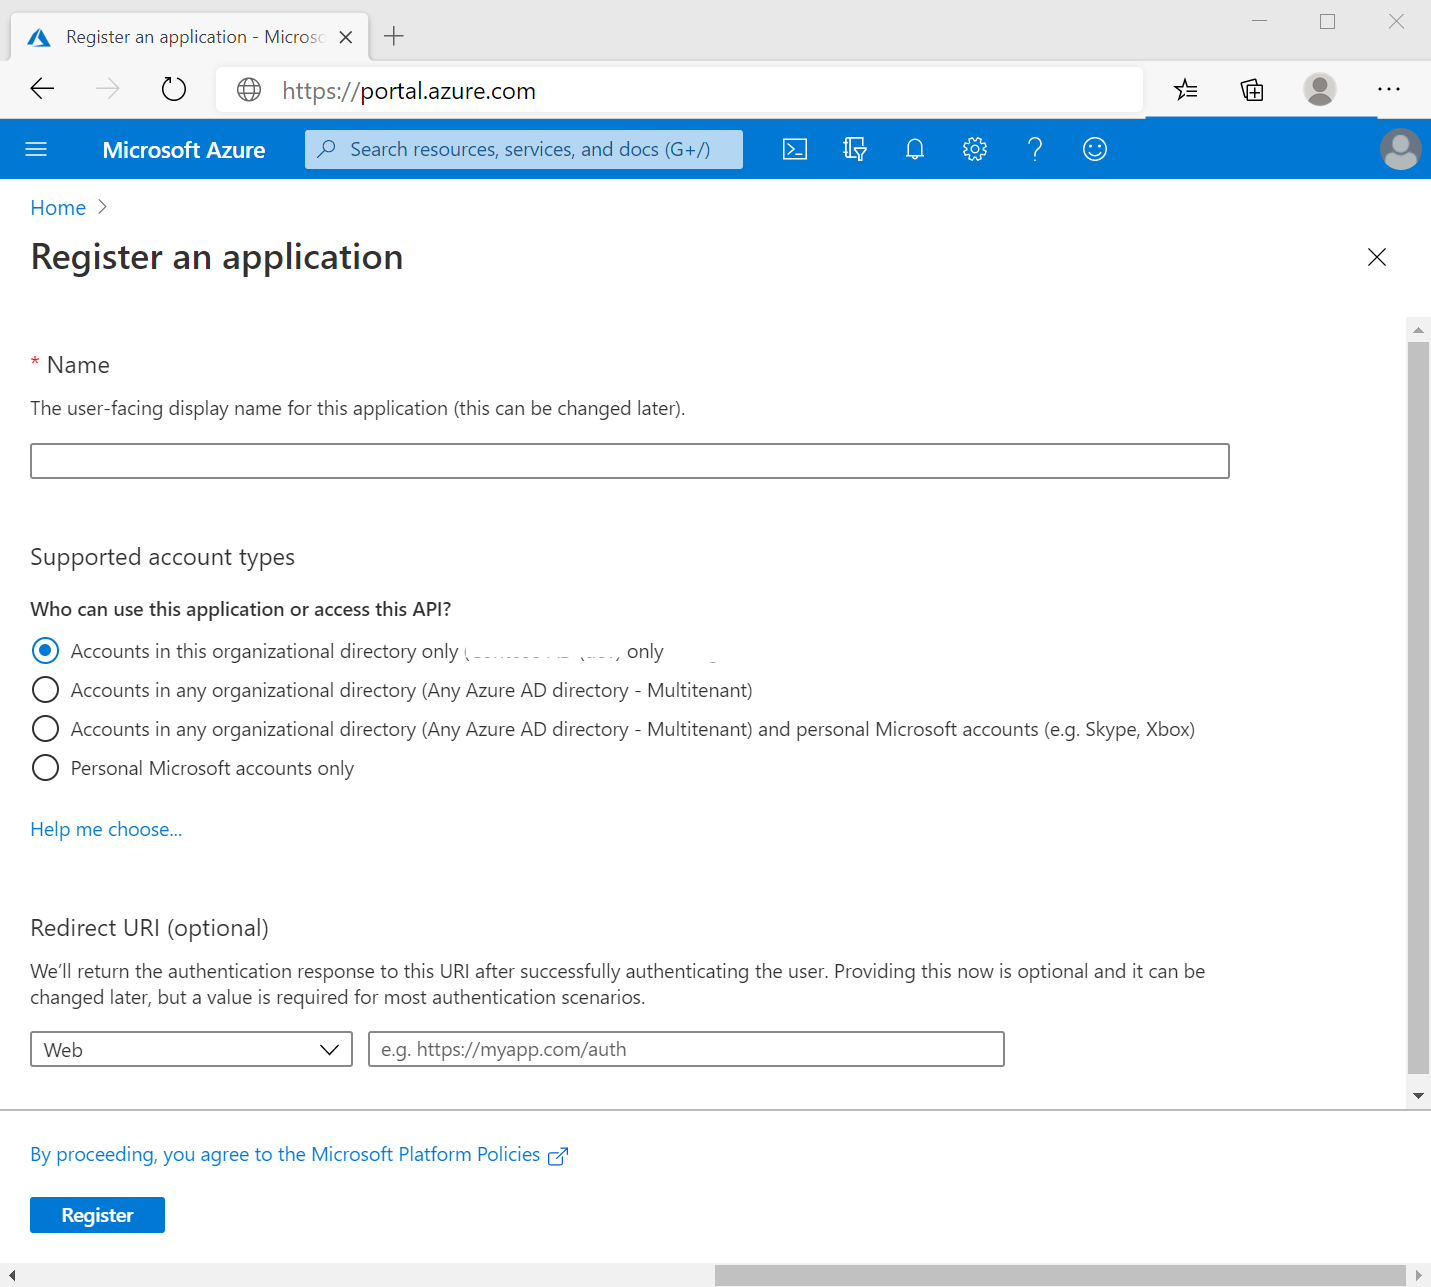
- Complete the following information
- Name: Use a meaningful name, for example,
modyo-production. - Supported account types: Use "Accounts in any organizational directory and personal Microsoft accounts" to include personal Microsoft accounts. You can find more information about it here (opens new window).
- Redirect URI: For admin accounts use:
test.modyo.com/admin/auth/openidc/callback.- For realms use:
test.modyo.com/realms/<nombre-realm>/auth/openidc/callback. - Substitute
test.modyo.comfor the URL of your account.
- For realms use:
- Name: Use a meaningful name, for example,
- Once the application is created, go to App registrations > modyo-production and get the **Application ID (client) ** and **Directory ID (tenant) **.
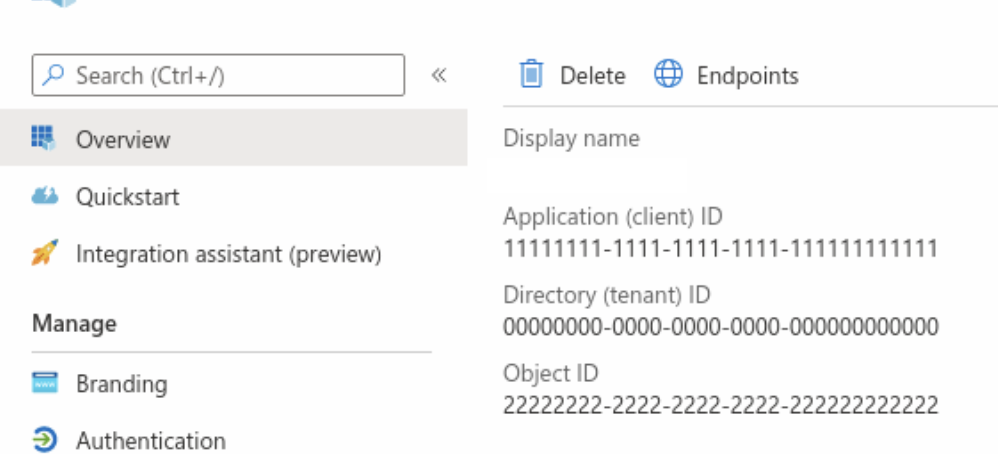
- Go to App registrations > Certificates & secrets and create a new secret with the New client secret button. It's important to copy the secret and its value to a safe place before continuing. Once you leave this window, you won't be able to access the value.

# Integration settings
The following configuration applies to both Team and Customer user integrations.
- From the Modyo platform, select Settings/Realm Settings and click Identity Providers.
- Select OpenID Connect and complete Client ID, also called Application ID, and Secret with the credentials obtained from the Azure portal.
- On the Azure portal, under General Information, click on Connection Points, and copy the URL of OpenID Connect Metadata Document.
- Open the URL in your browser, search for Issuer, and copy its value.
- In Modyo Platform, paste the value into Issuer and click on Run Discovery Service. At the end of the process, all the required URLs will be filled in automatically.
- Configure Scopes with the scopes required for the application. Use
openid, profile, emailif you don't have custom scopes. - Enable optional integration features.
Option Description Enable refresh token Enable token refreshment managed by Modyo. The access tokens will be automatically renewed by the platform if the user maintains activity on the site and has a valid refresh token. Enable logout Enable logging out of the provider when logging out of Modyo. This allows the session to be effectively closed, forcing the user to identify again in Entra ID, and disabling the SSO experience. Enable token revocation Not supported by Entra ID Show Delegation Information Enables more information in the User Profile API regarding delegated tokens. This is useful when the access token issued by the identity provider is needed to gain access to another service (e.g., an external API).
